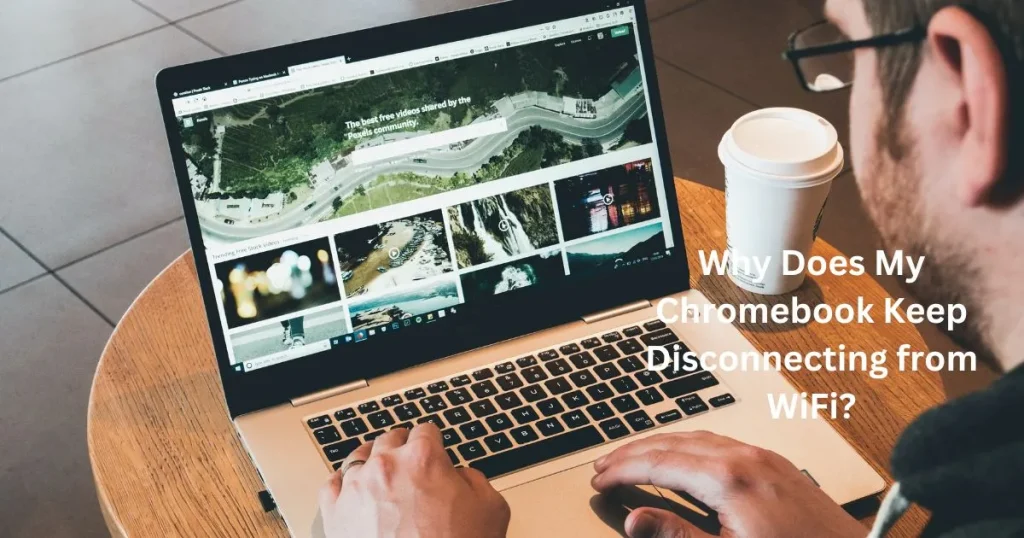
Most Chromebooks keep disconnecting from WiFi because of weak signals strength, outdated drivers or incorrect network configuration settings.
It can be a frustrating experience when you rely on your Chromebook for work, school or entertainment. But don’t worry, here are 15 ways to fix the issue and get your Chromebook connected to WiFi again.
Why do Chromebooks keep disconnecting from WiFi? : 4 Potential issues
First, lets discuss the main reasons that cause Chromebooks disconnecting from WiFi network.
1- Weak signal strength or poor coverage area
The main cause of WiFi connection issues with Chromebooks is weak signal strength or poor coverage area.
If the router you are connecting to is located at a distance away from your laptop, then it may not be able to maintain an optimal connection.
Additionally, if there are multiple walls or any other obstructions between the router and your laptop, this can also weaken the signal strength.
2- Outdated drivers and firmware
In some cases, the issue may be caused by outdated drivers and firmware on your Chromebook.
It can prevent it from establishing a stable connection with the wireless network, resulting in frequent disconnections and spotty performance.
3- Incorrect network configuration settings
If the router’s settings have been configured incorrectly, then this can also lead to WiFi connection issues with Chromebooks.
For example, if the wrong encryption protocol is selected or certain ports are blocked, then your laptop may not be able to establish a stable connection.
Pro Tip: There are some secure ways to connect the hotspot to Chromebook and keep working on your school or office projects.
4- Interference from Other Wireless Devices
Another reason is interference from other wireless devices in the vicinity. It includes microwaves, cordless phones, baby monitors, Bluetooth speakers, and even other laptops that are connected to the same network as your Chromebook.
All these devices emit a low-level radio frequency which can interfere with your Chromebook’s connection.
15 ways to fix if your Chromebook keeps disconnecting from WiFi
Now, I am going to discuss 15 solutions that can help you fix the issue of your Chromebook constantly disconnecting from WiFi. These solutions are sorted from the simplest to the most complex, so it’s best to start with the first one and work your way down until you find a solution that works for you.

1- Check your WiFi signal strength
The first step is to check if the issue is with your Chromebook or your WiFi connection. If other devices are not experiencing the same disconnection issues, then it could be a problem with your Chromebook’s WiFi antenna or settings. To check the signal strength, follow these steps:
- Click on the WiFi icon in the bottom right corner of your screen.
- Look at the signal strength bar next to your network name.
- If it is low or fluctuating, try moving closer to your router or connecting to a different network.
2- Restart your Chromebook
It’s a classic tech support solution, but it works for a reason. Restarting your Chromebook can fix many software-related issues, including WiFi disconnections.
- Click on the power button in the bottom right corner of your screen.
- Select “Restart”.
- Wait for your Chromebook to restart and try connecting to WiFi again.
3- Update your Chromebook
Outdated software can also cause connectivity issues. Make sure your Chromebook is running on the latest version of Chrome OS by following these steps:
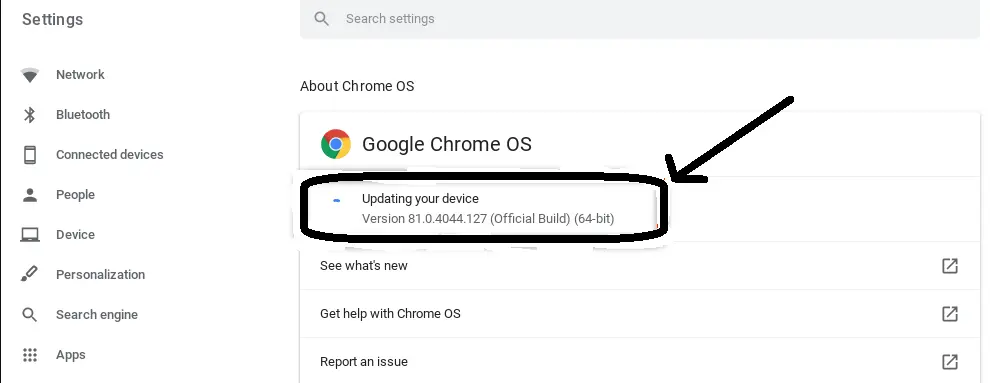
- Click on the time in the bottom right corner of your screen.
- Select “Settings”.
- Click on “About Chrome OS” in the left menu.
- Click on “Check for updates” and follow the prompts to update your system.
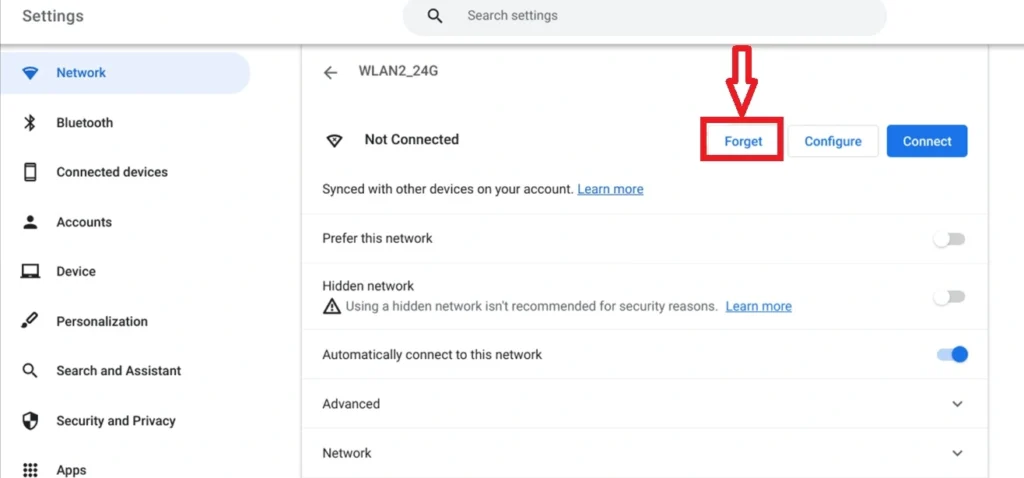
4- Forget and reconnect to WiFi
Sometimes, simply forgetting the problematic network and then reconnecting can resolve the issue. Here’s how to do it:
- Go to your WiFi settings by clicking on the WiFi icon in the bottom right corner of your screen.
- Find the network causing issues and click on the three dots next to it.
- Select “Forget”.
- Reconnect to the WiFi network by clicking on it again and entering the password if necessary.
5- Clear your browsing data
A cluttered cache or cookies can also cause connectivity problems. Try clearing your browsing data by following these steps:
- Open Chrome browser.
- Click on the three dots in the top right corner of your screen.
- Select “More tools”.
- Click on “Clear browsing data” and make sure “Cookies and other site data” and “Cached images and files” are selected.
- Click on “Clear data”.
6- Reset network settings
Resetting your network settings can also help resolve WiFi disconnection issues. Here’s how:
- Click on the time in the bottom right corner of your screen.
- Select “Settings”.
- Click on “Advanced” in the left menu.
- Under “Network”, click on “Reset network settings”.
- Confirm by clicking on “Reset” and then restart your Chromebook.
7- Powerwash your Chromebook
If none of the above methods work, you can try powerwashing your Chromebook. This will factory reset your school Chromebook and erase all data, so make sure to back up any important files beforehand.
- Click on the time in the bottom right corner of your screen.
- Select “Settings”.
- Click on “Advanced” in the left menu.
- Under “Powerwash”, click on “Powerwash”.
- Follow the prompts to reset your device.
8- Check for physical damage
If you’ve dropped or damaged your Chromebook in any way, it’s possible that this could be causing WiFi connectivity issues. Check for any visible damage and consider taking it to a professional for repair.
9- Use the Chrome Connectivity Diagnostics app
The Chrome Web Store offers a free app called “Chrome Connectivity Diagnostics” that can help diagnose and troubleshoot connectivity issues on your device. Install it by following these steps:
- Open the Chrome Web Store.
- Search for “Chrome Connectivity Diagnostics”.
- Click on “Add to Chrome”.
10- Switch to a different WiFi frequency
If your home network is using the 2.4 GHz band, try switching to the 5 GHz band or vice versa. This can help improve connectivity and reduce interference from other devices.
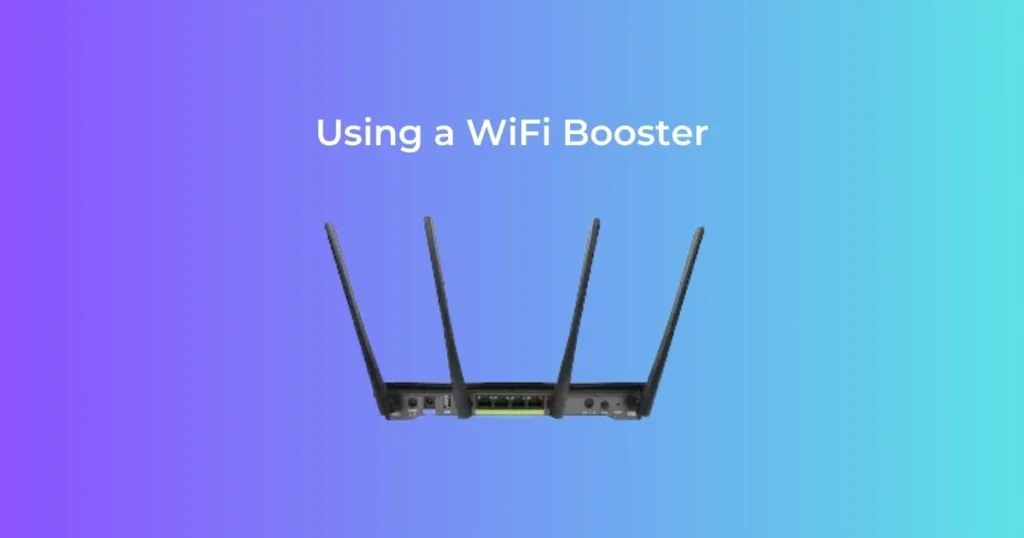
11- Move closer to your router
Sometimes, simply moving closer to your WiFi router can solve the problem. Walls and other physical barriers can weaken the signal, so try to stay within close proximity to your router.
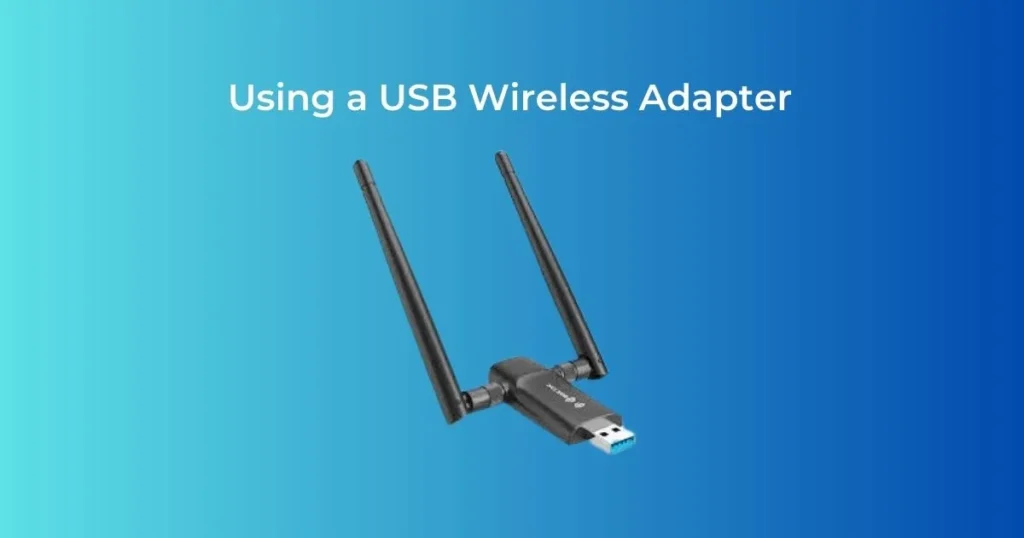
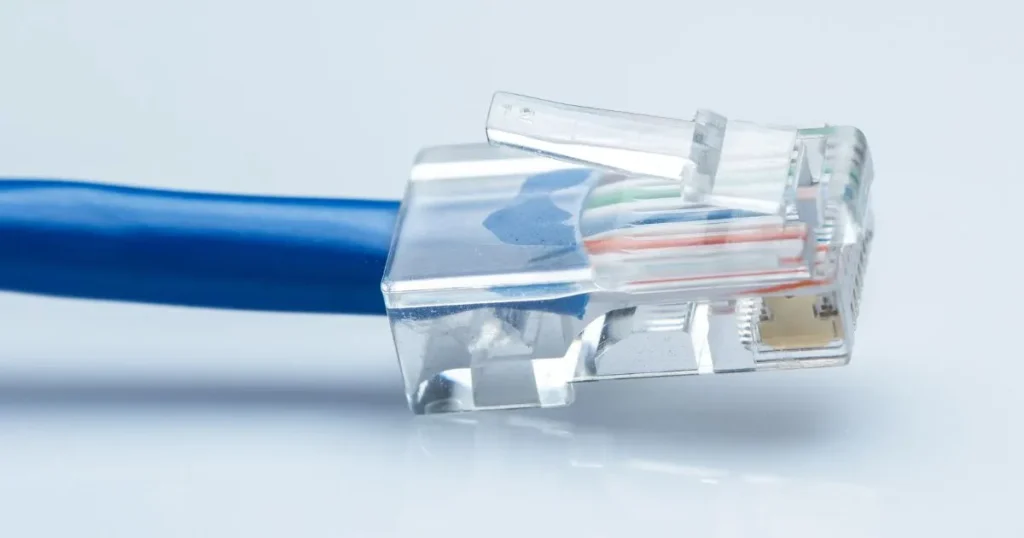
12- Use an Ethernet cable
If possible, connecting your Chromebook directly to your router with an Ethernet cable can provide a more stable and reliable connection.
13- Disable Chrome extensions
Certain Chrome extensions can interfere with WiFi connectivity. Temporarily disable them by following these steps:
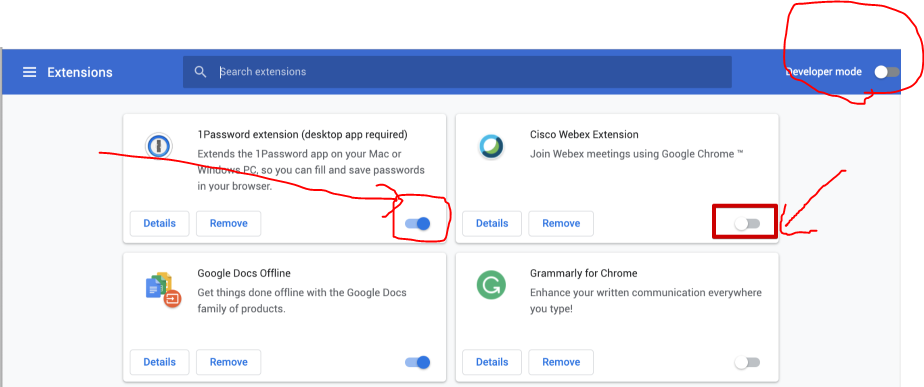
- Click on the three dots in the top right corner of your screen.
- Select “More tools”.
- Click on “Extensions”.
- Toggle off any extensions that may be causing issues.
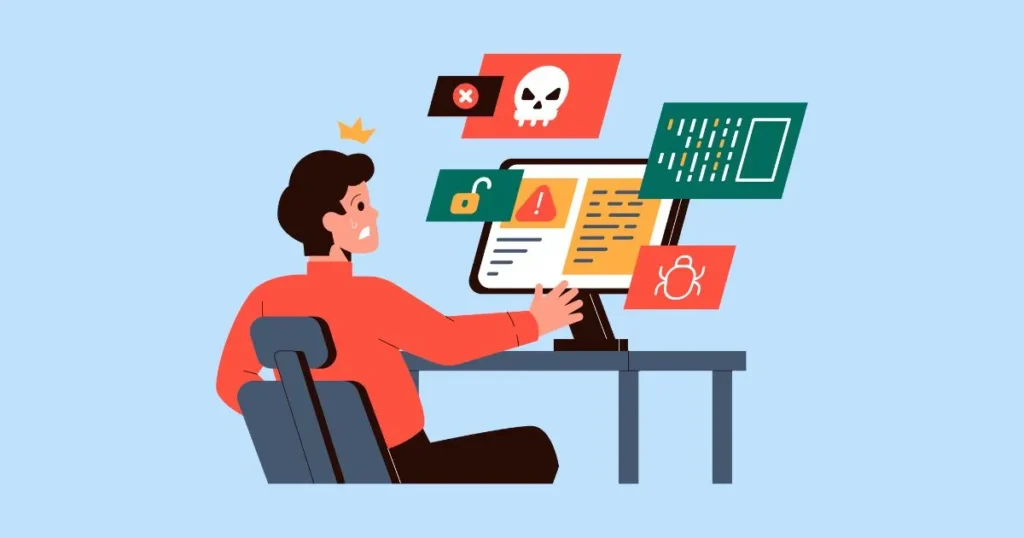
14- Check for malware
Malware can also cause connectivity problems, so make sure to run a full system scan with your antivirus software to check for any malicious programs.
15- Contact your Internet Service Provider
If none of the above methods work, it’s possible that there may be an issue with your internet service provider. Contact them and explain the problem to see if they can provide a solution or further assistance.
By following these troubleshooting methods, you should be able to fix any WiFi disconnection issues on your Chromebook. If the problem persists, it may be a hardware issue and you may need to consult a professional for assistance.
You can follow some secure ways to share the WiFi password from your Chromebook to iPhone and enjoy seamless internet connectivity.
Conclusion
We hope this guide helped you resolve any WiFi connectivity issues on your Chromebook. Remember to try restarting your device, updating software, forgetting and reconnecting to WiFi networks, clearing browsing data, resetting network settings, and powerwashing as potential solutions. If physical damage is suspected, consider taking it for professional repair.
Additionally, utilizing the Chrome Connectivity Diagnostics app, switching WiFi frequencies or using an Ethernet cable may also improve connectivity. Always make sure to keep your device and software up to date, disable any problematic extensions or check for malware as well.
How do I find my Wi-Fi password on my Chromebook?
To find your Wi-Fi password on a Chromebook, follow these steps:
- Click on the time in the bottom right corner of your screen.
- Select “Settings”.
- Click on “Wi-Fi” under “Internet connection”.
- Find the network you are connected to and click on it.
- Your Wi-Fi password will be displayed under “Security type”.
How do I fix a slow Wi-Fi connection on my Chromebook?
To fix a slow Wi-Fi connection on your Chromebook, try the following:
- Make sure your device is within range of your router.
- Restart your Chromebook and router.
- Clear browsing data and disable any problematic extensions.
- Switch to a different Wi-Fi frequency.
- Use an Ethernet cable for a more stable connection.
- Check for malware and update your software.
How do I manually connect my Chromebook to Wi-Fi?
To manually connect your Chromebook to Wi-Fi, follow these steps:
- Click on the time in the bottom right corner of your screen.
- Select “Settings”.
- Click on “Wi-Fi” under “Internet connection”.
- Turn on Wi-Fi if it is currently off.
- Under “Available networks”, click on the network you want to connect to.
- Enter the Wi-Fi password if prompted.
- Click on “Connect”.
How do I connect my Chromebook to Wi-Fi automatically?
To connect your Chromebook to Wi-Fi automatically, follow these steps:
- Click on the time in the bottom right corner of your screen.
- Select “Settings”.
- Click on “Wi-Fi” under “Internet connection”.
- Turn on Wi-Fi if it is currently off.
- Under “Preferred networks”, click on the “+” button and add the network you want to connect to.
- Make sure the new network is selected and click on “Connect automatically”.
- Enter the Wi-Fi password if prompted.
- Click on “Connect”.
Can certain apps or extensions cause connectivity issues on my Chromebook?
Yes, certain apps or extensions on your Chromebook can cause connectivity issues. It is recommended to disable them temporarily or remove them completely if they are causing problems with your Wi-Fi connection.
Is there anything I can do to improve the Wi-Fi performance on my Chromebook?
To improve the Wi-Fi performance on your Chromebook, try the following:
- Keep your device and software up to date.
- Connect to a different Wi-Fi frequency or use an Ethernet cable for a more stable connection.
- Clear browsing data and disable any problematic extensions.
- Check for malware and update your software.
- Contact your internet service provider if the problem persists. End of Document