As Chromebooks become more popular, many users are looking for ways to get the most out of their devices. One way to do that is by using a stylus pen with your Chromebook.
A stylus pen offers precision and accuracy when navigating or drawing on a touchscreen Chromebook. It also helps protect your screen from fingerprints and smudges.
In this article, we’ll provide a step-by-step guide on how to connect a stylus pen to your Chromebook.
We’ll also explain the different types of stylus pens available and what features they offer, as well as troubleshooting tips for common connection issues and suggestions on taking care of your pen. Let’s get started!
What is a stylus pen?
A stylus pen is a type of pen-like device that can be used with touchscreen devices like Chromebooks. It’s made up of two main parts – the tip and the body.
The tip, usually made of rubber or plastic, interacts with the screen to provide accuracy when drawing or navigating. The body contains a series of buttons that can be used to switch between functions like erasing, pressing, and selecting items.

Stylus pens come in different sizes and shapes, with some offering additional features such as pressure sensitivity, erasers, tilt angles, and more.
To identify the type of stylus pen you have, check the product description or refer to the manufacturer’s instructions.
Different types of stylus pens used with Chromebooks:
Stylus pens vary in terms of size, shape, and features.
1- Standard Stylus Pens
These are the most basic type of stylus pens and they usually come with a rubber or plastic tip. The main purpose of these pens is to provide accuracy when navigating or drawing on a touchscreen device like a Chromebook.
They don’t offer any buttons, so you’ll need to use your finger to switch between functions like erasing, pressing, and selecting items.
2- Pressure-sensitive Stylus Pens
Pressure-sensitive stylus pens offer additional features such as pressure sensitivity and tilt angles.
They usually come with a rubber or plastic tip that can detect the amount of pressure you apply to the screen when drawing or navigating.
The extra features allow you to create more detailed and accurate drawings or navigate more precisely.
3- Eraser-tip Stylus Pens
Eraser-tip stylus pens have an eraser at the end of the pen, which makes it easier to make corrections when drawing on the screen. They also usually come with a rubber tip that provides accuracy when navigating.
The eraser-tip makes it easier to erase mistakes without having to use your finger or another tool.
4- Dual-tip Stylus Pens
Dual-tip stylus pens come with two tips – one at the end of the pen and one at the side. The tip at the end is usually made of rubber or plastic and can be used to navigate accurately.
The tip at the side is usually made of an eraser material and can be used to make quick corrections without having to use your finger or another tool.
5- Wireless Stylus Pens
Wireless stylus pens are a bit more advanced than the other types of pens mentioned above. These pens connect to a device like a Chromebook via Bluetooth and allow you to draw or navigate from a distance.
They usually come with additional features such as pressure sensitivity, tilt angles, and more.
How to connect a stylus pen to a Chromebook?
Connecting a stylus pen to your Chromebook is easy and straightforward. Here’s what you need to do:
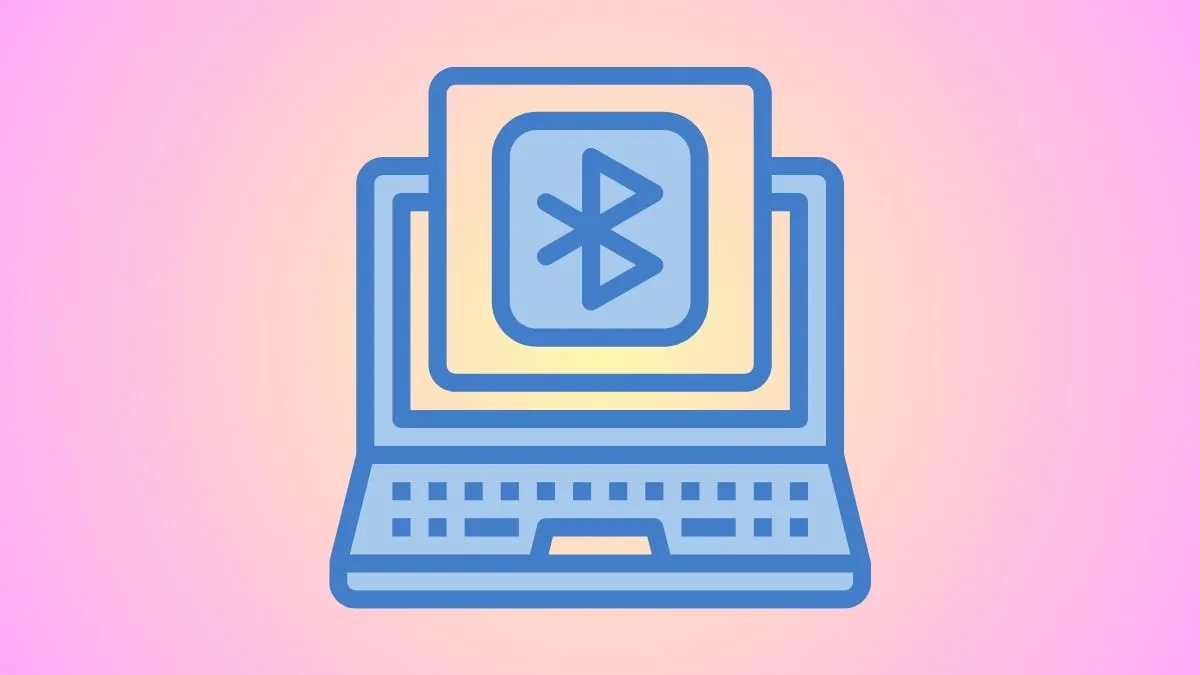
Step 1: Turn on Bluetooth on your Chromebook. To do this, go to the bottom right corner of your screen and click on the settings icon. Then click on “Bluetooth & Other Devices” and toggle the switch to “On”.
Step 2: Turn on your stylus pen by pressing and holding down the button for a few seconds until it turns on.
Step 3: Put your stylus pen into pairing mode by pressing and holding down the button for a few seconds until you hear an audible sound or see a light indicating that it’s in pairing mode.
Step 4: Go back to the settings menu of your Chromebook and click on “Bluetooth & Other Devices”. You should see your stylus pen listed in the list of devices. Click on it to connect it to your Chromebook.
Step 5: Once connected, you can start using your stylus pen with your Chromebook.
It’s important to note that some stylus pens may require additional software or drivers in order to work properly with your device.
Troubleshooting tips for common connection issues:
If your stylus pen is not connecting to your Chromebook, here are a few tips that may help:

- Make sure the stylus pen is compatible with your device by checking the product description or manufacturer’s instructions.
- Make sure Bluetooth is enabled on your Chromebook by going to Settings > Bluetooth and making sure it is turned on.
- Make sure the stylus pen is turned on by pressing and holding the power button for a few seconds until it turns on.
- If you’re still having trouble connecting, try restarting your Chromebook or resetting the device to its factory settings.
- If the issue persists, you may need to download and install an updated Bluetooth driver from the manufacturer’s website.
Taking care of your stylus pen:
Once you’ve successfully connected your stylus pen to your Chromebook, it’s important to take care of the device in order to keep it working properly. Here are a few tips:

1- Keep the stylus pen clean:
Dirt and dust can build up on the tip of the pen over time, which can affect its accuracy when drawing or navigating. To keep it clean, use a soft cloth to wipe down the tip before and after each use.
2- Store it properly:
When not in use, make sure to store your stylus pen in a safe place that’s out of direct sunlight and away from moisture. You should also avoid carrying the pen in your pocket or bag, as this could damage it.
3- Replace the tip regularly:
The tip of a stylus pen can wear down over time, which can affect its accuracy. To keep the pen working properly, replace the tip every few months or when you start to notice a decrease in accuracy.
4- Use a screen protector:
A screen protector can help protect the tip of your stylus pen from dirt and damage. Make sure to use one that’s compatible with your device for best results.
5- Charge the battery regularly:
Most stylus pens require regular charging, so make sure to plug it in when the battery starts to run low. This will help keep the pen working properly and extend its lifespan.
By taking a few simple steps, you can ensure that your stylus pen works properly and lasts for years to come!
Advantages and Dis-advantages of using stylus pens for Chromebooks:
A stylus pen can be a great way to interact with your Chromebook. Here are some of the advantages and disadvantages of using one:

Advantages:
- Accuracy: Using a stylus pen can allow you to be more precise when drawing or navigating, as the tip of the pen is thinner and more accurate than your finger.
- Versatility: Stylus pens come in many different sizes and shapes, allowing you to find one that fits your needs and preferences.
- Comfort: Since you don’t have to use your finger, the stylus pen can be much more comfortable when drawing or navigating.
- Cost: Stylus pens are usually very affordable, making it easy to find one that fits your budget.
Disadvantages:
- Compatibility: Not all stylus pens are compatible with all devices, so make sure to check the product description or manufacturer’s instructions before purchasing.
- Limited features: Some stylus pens may not have features such as pressure sensitivity or tilt angles, so make sure to check the product description before purchasing.
- Battery life: Most stylus pens require regular charging, which can be a bit of a hassle.
- Maintenance: Stylus pens need to be cleaned and maintained regularly in order to keep them working properly.
Overall, using a stylus pen on your Chromebook can be a great way to interact with the device and get more out of it. However, it’s important to consider both the advantages and disadvantages before making a decision.
Conclusion:
In conclusion, using a stylus pen on your Chromebook can be a great way to get the most out of your device. While there are some potential downsides such as compatibility issues and regular maintenance, the advantages of using a stylus pen can outweigh these negatives.
By following the instructions outlined in this article, you should be able to successfully connect your stylus pen to your Chromebook and enjoy all its features.
Additionally, by following the maintenance tips outlined in this article, you’ll be sure to keep your stylus pen working properly for years to come.
Ultimately, using a stylus pen on a Chromebook can be an easy and enjoyable way to interact with your device.
Whether you’re taking notes, drawing diagrams or navigating menus, a stylus pen provides accuracy and comfort that you can’t get with your finger. So, what are you waiting for? Grab a stylus pen and start exploring the world of Chromebooks!
FAQs:
Why is my stylus pen not working on Chromebook?
If your stylus pen is not working on your Chromebook, it could be due to compatibility issues, incorrect settings, or a damaged pen.
First, make sure the stylus pen is compatible with your device and that Bluetooth is enabled on the Chromebook.
How often should I replace the tip of my stylus pen?
The tip of a stylus pen can wear down over time, which can affect its accuracy.
To keep the pen working properly, it’s recommended to replace the tip every few months or when you start to notice a decrease in accuracy.
How do I charge my stylus pen on my Chromebook?
Most stylus pens require regular charging, so make sure to plug it in when the battery starts to run low. It will help keep the pen working properly and extend its lifespan.
Some stylus pens may have a USB port or a wireless charger that you can use for charging purposes.
Can you use a stylus on a Chromebook touchpad?
Yes, you can use a stylus on the touchpad of your Chromebook. However, depending on the type of stylus pen you have, it may not be as accurate or precise as using your finger.
Additionally, some games and apps may not support stylus pens, so it’s best to check with the developer before trying to use one.
How do you reset a stylus pen?
To reset a stylus pen, you can usually press and hold the power button for 3-5 seconds. This should reset the pen and allow it to pair with your device again.
What can replace a stylus pen?
If you don’t have access to a stylus pen, you can use your finger as an alternative. However, this may not be as accurate or precise as using a stylus pen.
How can I make my stylus pen last longer?
To help extend the lifespan of your stylus pen, make sure to charge it regularly when the battery starts to run low.
Do stylus pens work on any device?
No, stylus pens are not compatible with all devices. Before purchasing a stylus pen, make sure to check the product description or manufacturer’s instructions to ensure that it is compatible with your device.
